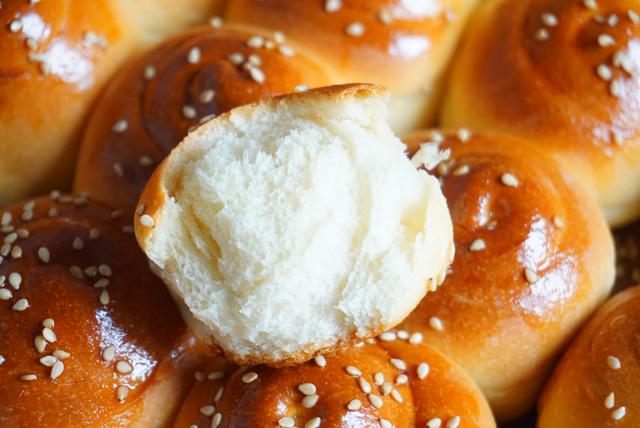
Honeycomb Crust Small Bread: Easier and More Delicious, Children Eat 4 Pieces at a Time
Honeycomb Crust Small Bread is Easier and More Delicious, Children Eat 4 Pieces at a Time
Did many people use their idle ovens during this holiday? It’s almost every day now, which is a big change from months of not using it. Everyone is making small snacks, so they want to try bread. Don’t make honeycomb steamed bread, just brushing egg liquid. It’s really disappointing. Quickly use your oven and learn to make this only needing one fermentation dough.

Yesterday I posted a friend circle, many friends said, ‘Teacher, quickly write this recipe for us. We love it since we were young. Seeing it triggers our childhood memories, we really want to make it. It’s not bad, so I’m sharing the recipe with you today.’

This sweet and crispy bottom, plus the fluffy interior, my 8.5-year-old daughter ate 3-4 pieces in one go, and she said there wasn’t enough to satisfy her craving. I made 25 pieces for my family, and if you like smaller snacks, you can make 36 pieces. If you like bigger ones, you can make 16 pieces. As long as it’s a square, it’s fine.
Honeycomb Crust Small Bread
Polish Seed Starter: 50g High Gluten Flour, 50ml Water, 0.5g Low Sugar Yeast
Main Dough: 230g High Gluten Flour, 50g Low Gluten Flour, 15g Milk Powder, 1 Egg, 5g High Sugar Yeast, 50g Sugar, 100ml Yogurt + 60ml Milk (If you don’t have yogurt, use 150ml milk), 2g Salt, 35g Unsalted Butter
Crispy Bottom: 10g Flour, 10g Sugar, a handful of sesame seeds. Surface: Egg liquid. Honey Water: 1 spoon of honey, 2 spoons of mineral water.
Instructions:
1. If we want the bread to have a soft and fluffy texture at room temperature for 3 days, we need to use Polish Seed Starter. It’s very easy to make! Heat the water to 40 degrees Celsius, add yeast and stir until dissolved. Pour the yeast water into the high gluten flour, stir until smooth, seal it in a bag and put it in the refrigerator for a night. The next day, it will bubble and have a silky texture.
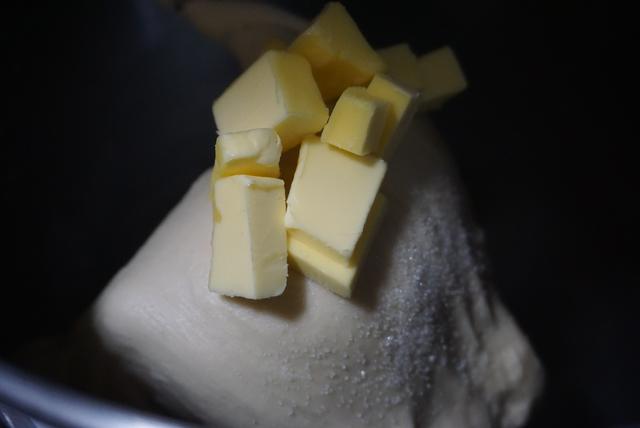
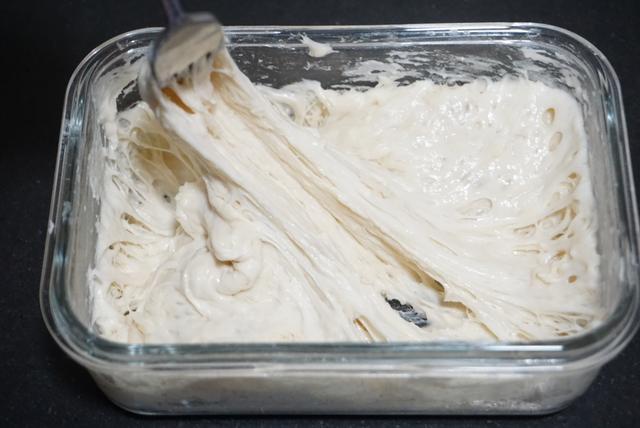
2. Put all the ingredients for the main dough except salt and butter into a food processor, operate at speed 2 for 1 minute, then switch to speed 4 and knead for 7 minutes. Then add butter and salt, operate at speed 2 for 1 minute, then switch to speed 4 and knead for 7 minutes. If you don’t have a food processor, you can use your hands to knead it. It’s a high hydration dough, which is easy to form a film.
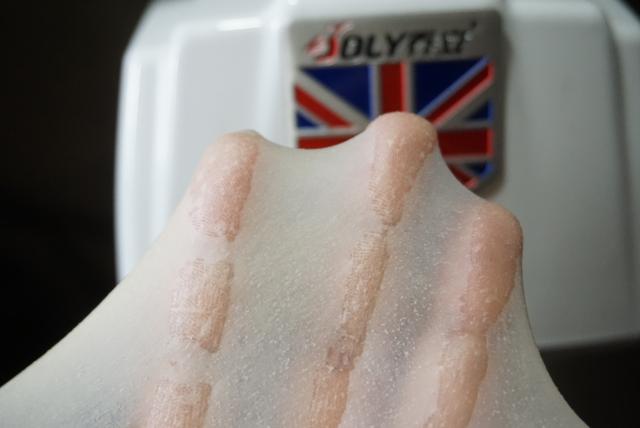
3. Knead the dough into a film, which will make the bread more delicate and delicious, and not rough and hard. Try to make it into a thin film that is not drooping.
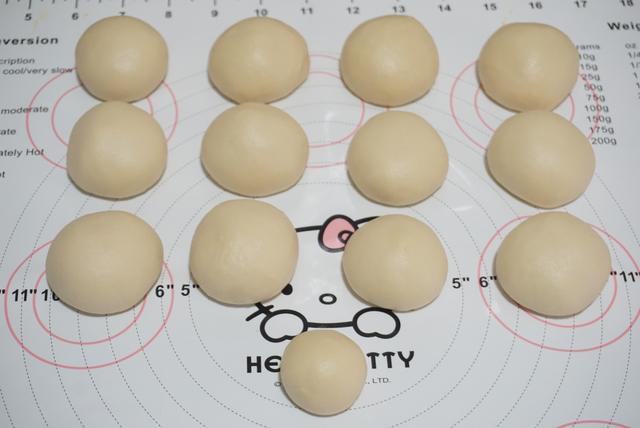
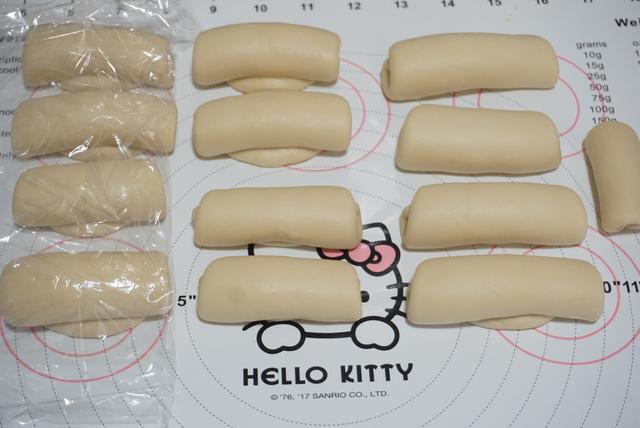
4. We don’t need to ferment, just divide it into 12.5 equal parts. Because we are going to make 5*5=25 small breads. Or divide it into 8 equal parts, to make 4*4=16 breads. Or divide it into 18 equal parts, to make 6*6=36 small breads. After dividing, cover it with plastic wrap and let it rest for 10 minutes.
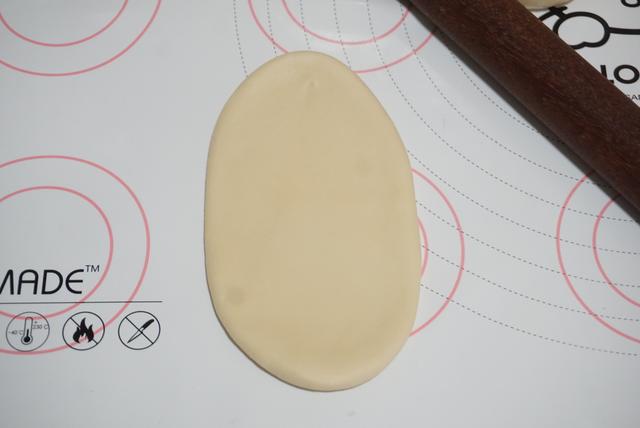
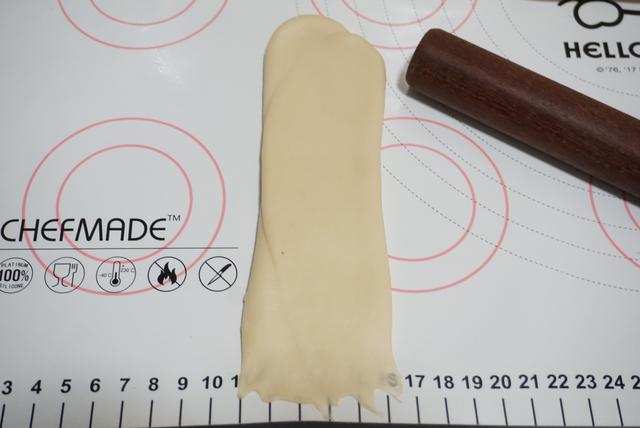
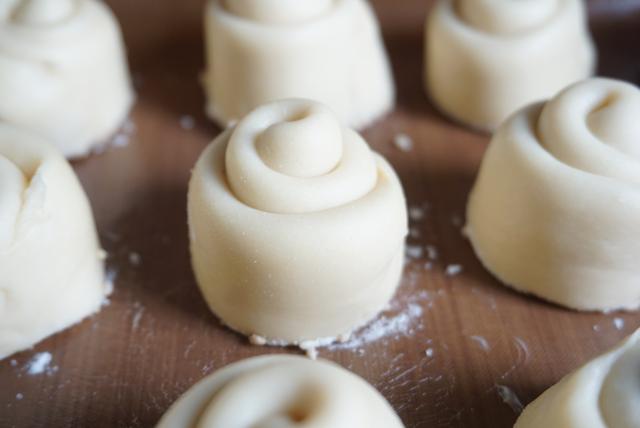
5. Take a piece of dough and roll it into a long strip.
6. Roll it up.
7. Roll it up again.
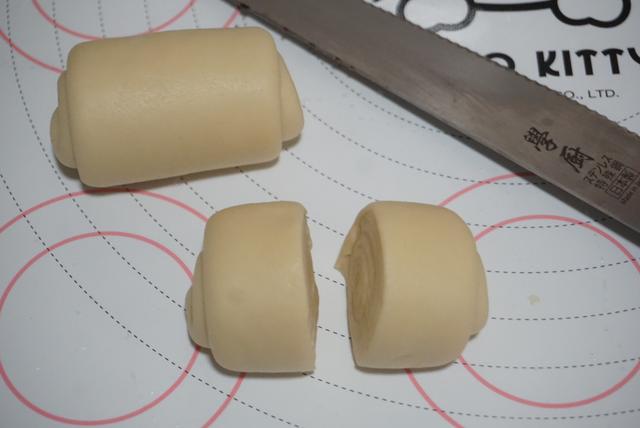
8. Roll up all 12 dough pieces and cut them in half, don’t cut the half pieces.
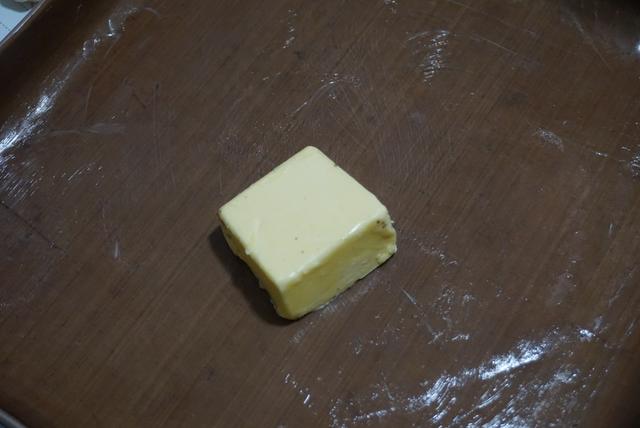
9. Brush a thin layer of butter or salad oil on the baking tray to make the bottom crispy.

10. Take 10g of low gluten flour, 10g of powdered sugar, and a handful of sesame seeds and mix them well. Then add a little water.
11. Take half of the dough, dip the bottom in water, then dip in the crispy bottom powder, and put it in the baking tray. Arrange it evenly with gaps, and put it all in the baking tray. After baking, second fermentation with humidity 75% and temperature below 38 degrees, ferment for 1.5 times.
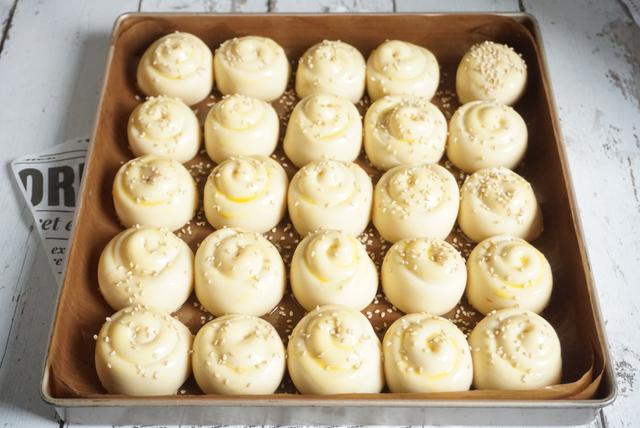
12. When the bread is fermented, brush a layer of whole egg liquid on the surface and sprinkle with sesame seeds.

13. Preheat the oven to 180 degrees Celsius, and put it in the lower rack. Bake for 20 minutes at 180 degrees with both top and bottom heat.
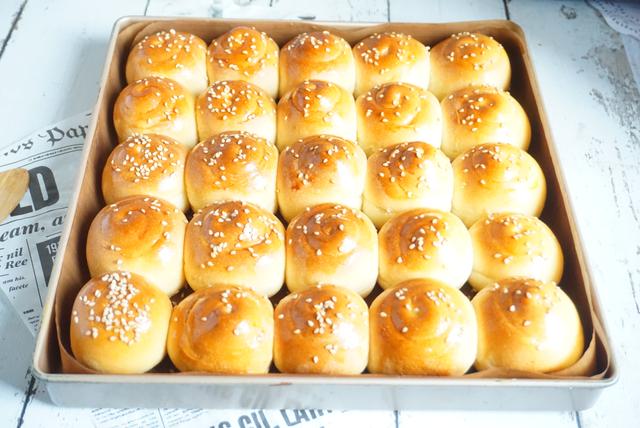
14. After it’s out of the oven, brush honey water on it immediately. That’s it.
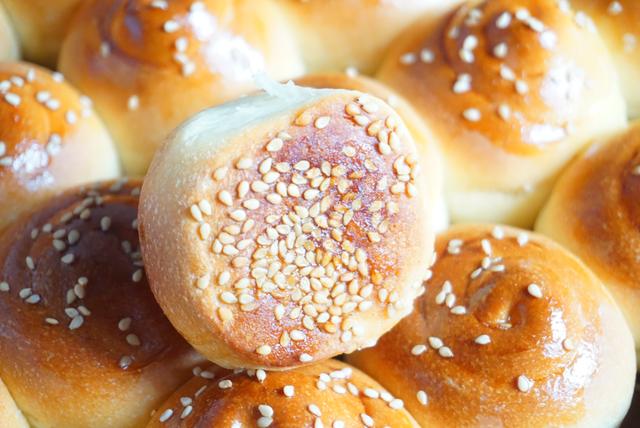
15. It’s best to eat it while it’s hot. The bottom is crispy, the crust is sweet, and the interior is silky. If you put it in the refrigerator the next day, it’s still super delicious. If the bottom isn’t crispy, put it back in the oven at 150 degrees with both top and bottom heat for 5 minutes, and it will return to the texture just out of the oven.16. If you don’t eat it all, put the leftover bread in a bag or box, seal it, and store it at room temperature.

Although the steps look a lot, it’s actually very simple. I took a lot of steps to show you the details better. Okay, let’s make it for your family to try!