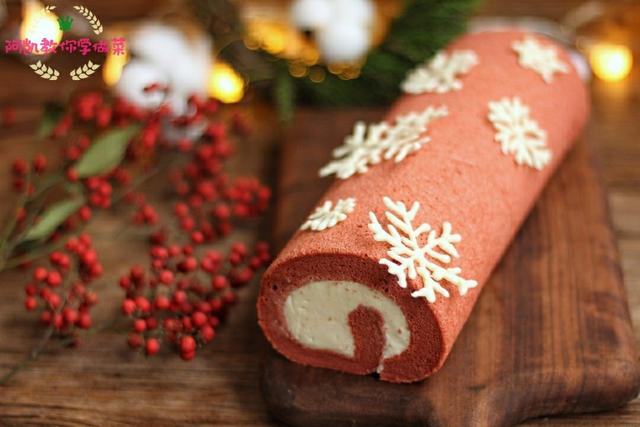
Christmas Snow Floss Cake Roll Tutorial
Christmas Snow Floss Cake Roll Ingredients
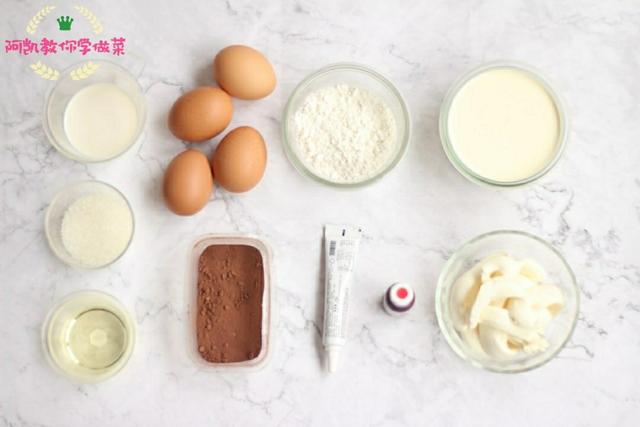
1. Cake Slice: Eggs 4 low-gluten flour 66g fine sugar 60g milk 60g corn oil 50g cocoa powder 5g red color pigment appropriate amount
2. Filling & Decoration Cream Cheese 100g whipped cream 150g fine sugar 30g white chocolate pen 1 stick
First Step: Preparation: Set oven temperature to 350°F (180°C) with top and bottom heat for 15 minutes, start preheating; separate egg yolks and egg whites into oil-free, dry containers; sift low-gluten flour and cocoa powder together for preparation.
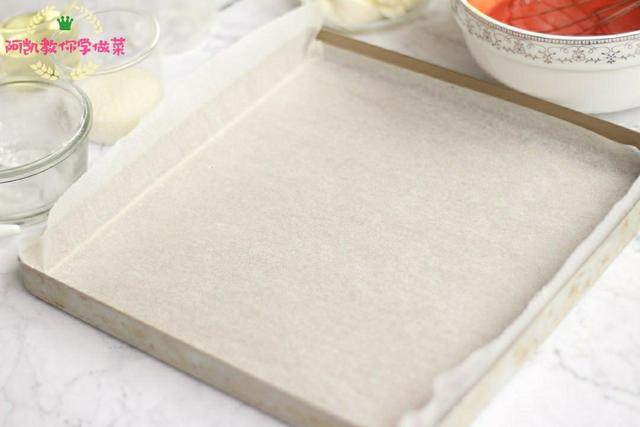
Second Step: Line the baking pan with parchment paper, cut corners to fit the baking pan
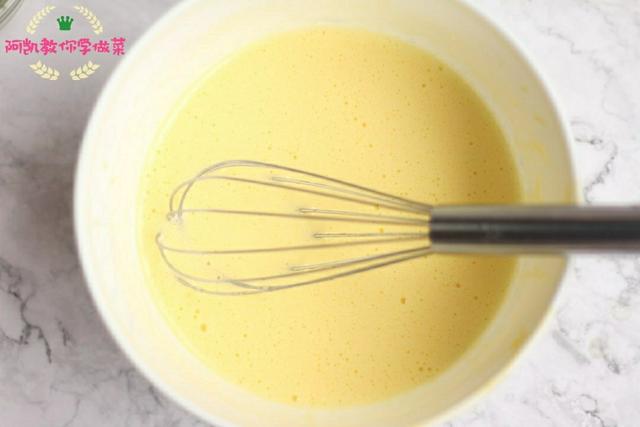
Third Step: Make the egg yolk paste: First, whisk the egg yolks until smooth, then add corn oil and mix well, then add milk in an irregular manner and stir for about 2 minutes, let the egg yolk and oil and milk fully emulsify.
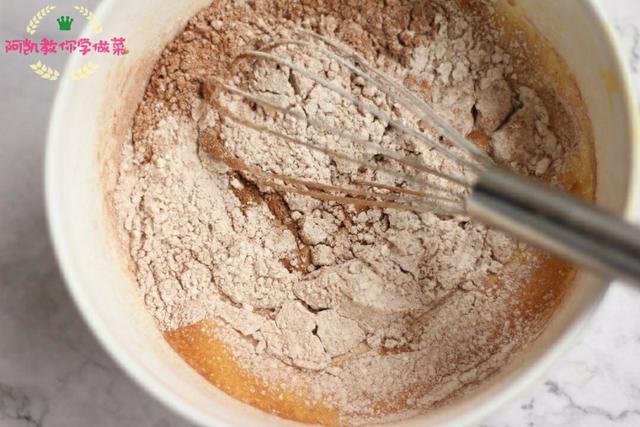
Fourth Step: Add sifted low-gluten flour and mix until a smooth, grain-free egg yolk batter is formed.
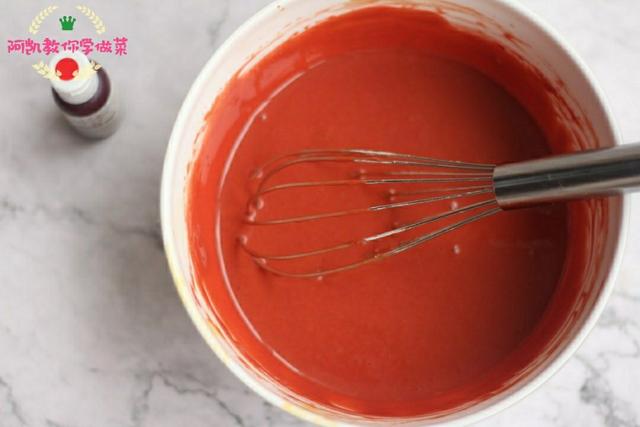
Fifth Step: Add red color pigment, stir until you achieve the desired color.
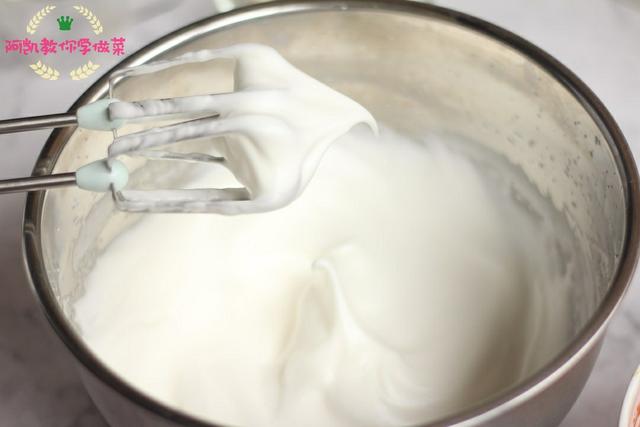
Sixth Step: Make the meringue: Divide the sugar into three parts and add it to the egg white mixture, low speed beat until the egg white presents a delicate and glossy state, and a small hook forms at the top of the beating head – this is the state we often call 'wet foam'.
Seventh Step: Mix the cake batter: First, use a manual beater to cut out a ball of meringue in the beaten meringue, put it into the egg yolk paste and mix until it is basically uniform.
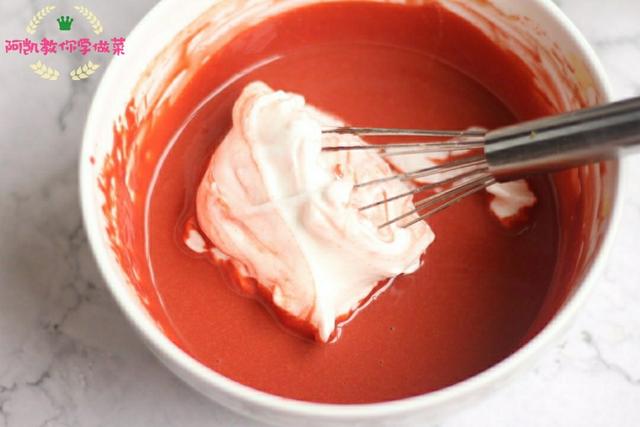
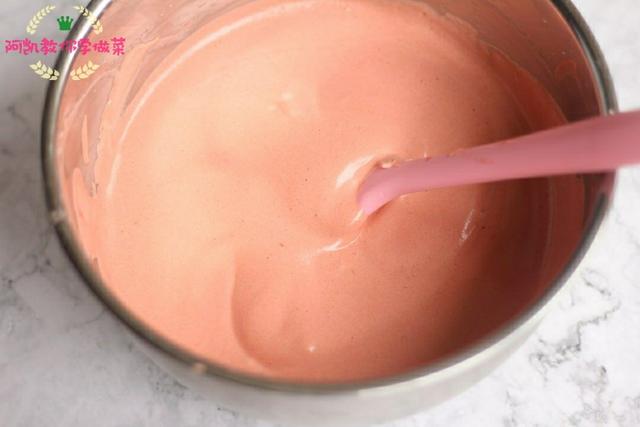
Eighth Step: Use a scraper to scoop out about 1/3 of the meringue and mix it with the egg yolk paste using a cutting method until basically uniform, then pour all the egg yolk paste into the meringue, use a folding method to gently fold it into a uniform cake batter.
Ninth Step: Pour the batter into a baking pan lined with parchment paper, smooth the surface.
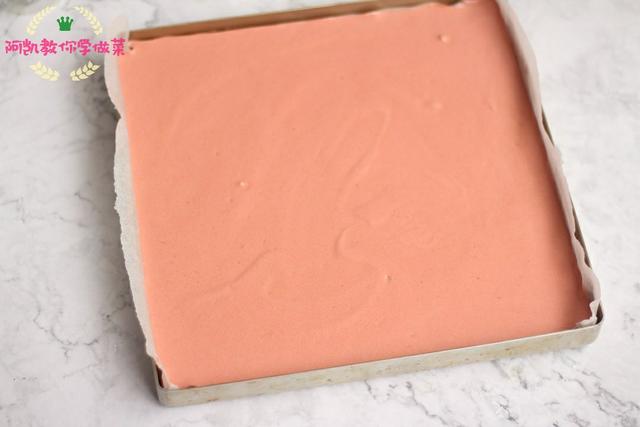
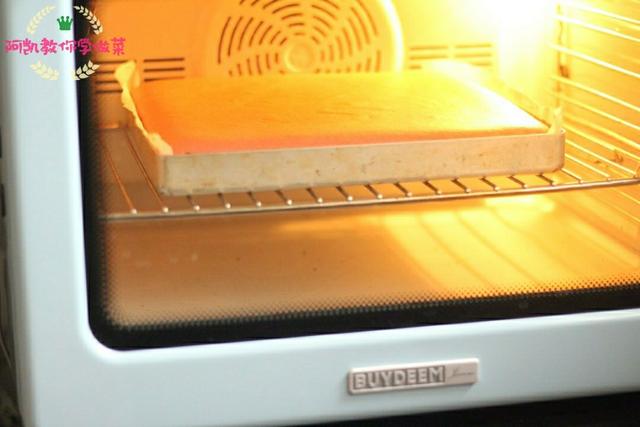
Tenth Step: Put it into the preheated oven at 180°C (350°F) middle layer for 13-15 minutes. Cake that is baked for 13 minutes is lighter in color and has a tender skin, it can be torn into a skinless cake roll. Baking for 15 minutes is more suitable for the front with skin roll, according to your personal preference to choose the time.
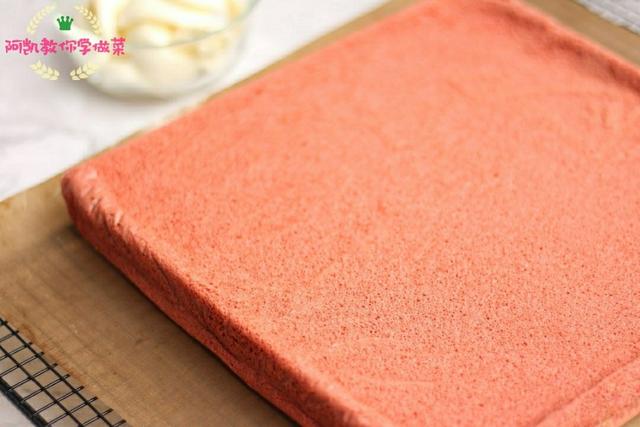
Eleventh Step: After baking the cake roll, immediately invert it onto a parchment paper-lined cooling rack, remove the bottom paper, and let it cool to lukewarm.
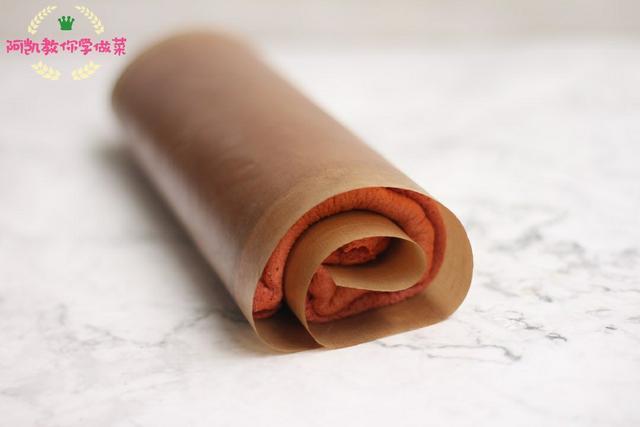
Twelfth Step: When the cake roll is still a little warm, use parchment paper to gently roll the cake roll as shown in the picture, then place it to cool completely.
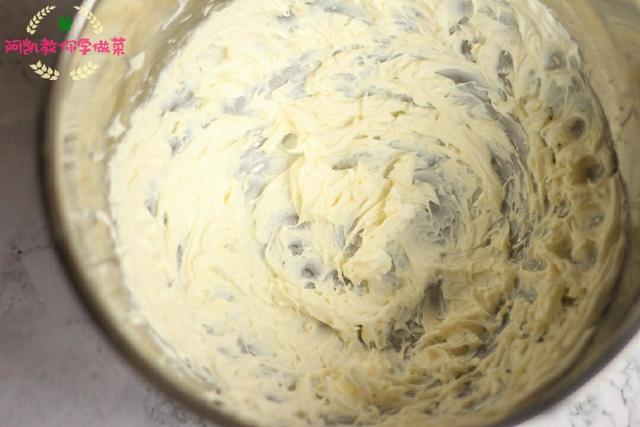
Thirteenth Step: While the cake roll is cooling, make the filling: Soften the cream cheese, add powdered sugar and beat with an electric beater until fluffy and smooth.
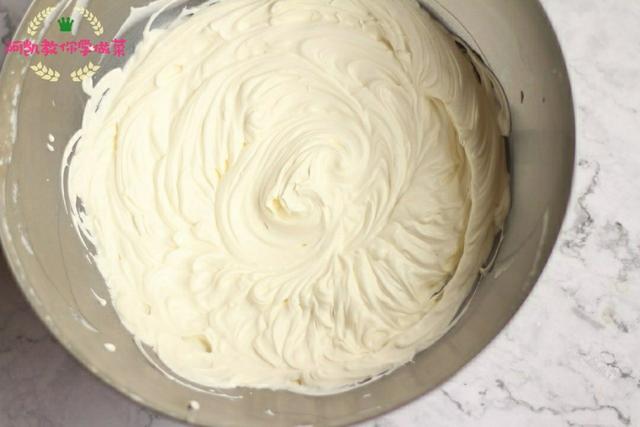
Fourteenth Step: Pour cold, anhydrous stainless steel basin whipped cream, medium speed beat until it reaches nine-tenths of the state.
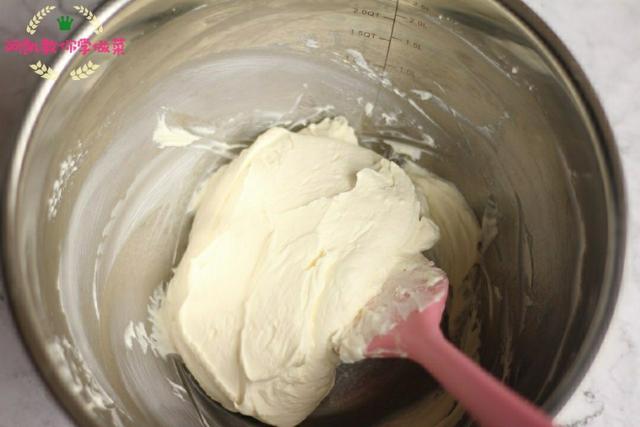
Fifteenth Step: Use a scraper to mix and fold the cream cheese and whipped cream to become a uniform cream cheese cream.
Sixteenth Step: Spread the cooled cake slices on parchment paper, use a knife to evenly spread the cream filling on the cake slice, spread a thicker layer near your side and a thinner layer at the tail end.

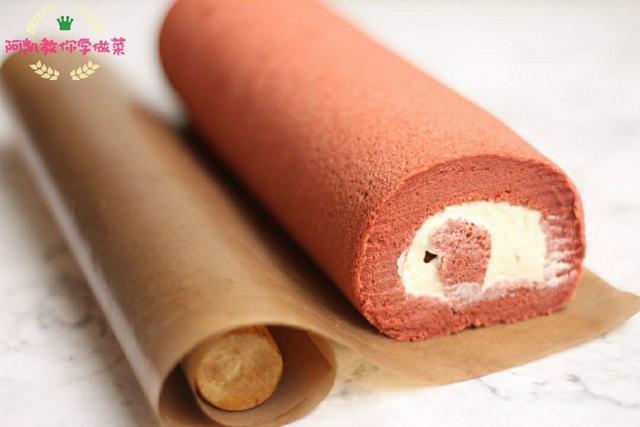
Seventeenth Step: Use parchment paper and a rolling pin to gently roll the cake roll from this side, roll it up tightly, and maintain the state of covering the surface with parchment paper or parchment paper, put it into the refrigerator to cool for about 2 hours, it will be more regular when cut open, and the texture of the cake roll fusion will be better.
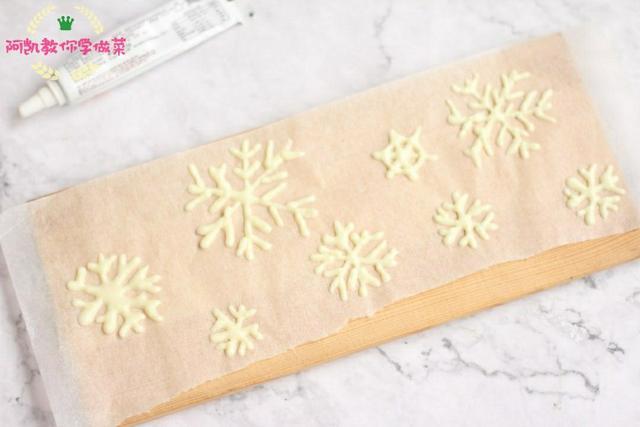
Eighteenth Step: During cooling, you can draw snowflake decorations with chocolate pen. Heat the chocolate pen with hot water to melt and draw snowflakes on the parchment paper, then flatten the parchment paper and put it into the refrigerator for cooling solidification.
Nineteenth Step: When the cake roll is cooled, carefully remove it from the parchment paper and decorate it randomly.